Monday, May 24, 2010

Beautiful day!

Good morning!

Why is it that when it is rainy and yucky outside I have no motivation to do anything...and then on days like today, when I should be outside enjoying the beautiful weather, I now feel like doing all the things I should have done yesterday. I had all that free time yesterday and did basically nothing...well not nothing I guess I did fix six pieces of clothing. What I should have been doing is cleaning my house so that when it is a sunny day...like today then I wouldn't have to do those things. Oh well! I think that the house can stay messy one more day so I can play...don't you?

So here's to putting your "I have to's" aside and living in the moment! :)

Hope you have a great day too!

Sunday, May 23, 2010

Mending and fixing and other boring stuff

All it seems that I have done lately is fix and mend clothes...fixing holes in pants, mending a fallen hem here or a small tear there. Nothing really exciting really. I was a little disappointed when the beautiful pink dress I had already fixed for Emilia in a previous posting came out of the wash with pen stains on it. So now I need to make more yo-yo's to cover those stains too. I am going to have to find more fabric to make more...bah. I spent so much time fixing this dress for Emilia where the elastic was stretched out...it did not work out how I had planned...I think I will have to add something else to cover up the top maybe a ruffle or something. We will see how things turn out, but I just can't call them finished until I am happy with them.

This is the dress with the blue ink spots...she only got to wear it once. Not sure exactly what I will do yet as the spots seem to be strategically placed in the front...if you know what I mean. I might need to do a giant ruffle, or maybe two ruffles. We will see.

Tuesday, May 18, 2010

Pillow case dress and other things


Hey there!

Sitting here missing my husband so much. While he is off building houses in Guatamala. So I am trying to make sure that I fill up all my time so that I will not have time to think about how much I am missing him or how much I wish that I was there. Yesterday I filled my time by going to the post office and getting my tires changed and now I will share this project with you...


This is a pillow case dress. I literally took a pillowcase and cut off the closed end. Once the end was cut off I cut up the sides to make it less boxy looking and a little more A lined and re-sewed the sides. I used a tank top of my daughters to get the arm holes right and just trimmed them up to match. Then I folded all the raw edges over and hemmed them. I took the top front and top back and made a half inch casing so that I could put a tie through it. I also took a strip of t-shirt material and made a long stitch through it and gathered it up to make a ruffle and sewed it to the front of the dress.

I just love this idea. It is such a beautiful pillow case with such beautiful embroidery on the front. There are so many beautiful vintage pillow cases that could be made into something great like little girls dresses.

Monday, May 17, 2010

Baby hat

Good Morning everyone!

Yesterday I spent the best day with my Mama. We walked around Fort Langley, BC and snooped in all the beautiful shops. I always find so much inspiration looking in the shops. While I was there I found some beautiful baby hats and, of course, thought to myself...I can make that!

I decided to make some boys hats first...girls hats to follow at a later date.
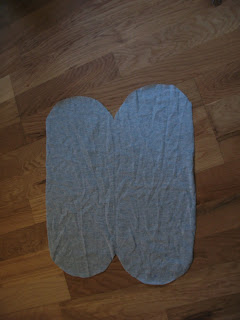
I started by making a pattern for myself. Sorry, I do not have a pattern for you to download...I have no idea how to do things like that yet. What I did was folded my fabric in half and cut my pattern in sort of a tube shape. In the picture the bottom of the tube is the fold and I began cutting at the curved edges and across the top.

This is what the fabric looks like when unfolded. I know, the picture looks like it is crooked...it is not. Next you need to fold the fabric in half with the right sides together.

Then you will need to sew with a zig zag stitch all around your cut edges. You can pin your fabric together first to make sure the fabric does not slip...I did not. Make sure you leave a small opening for turning your fabric right side out again...so that means...do not sew all the way around.

This is what it should look like when you are done turning it inside out. Now you need to sew up the opening. You could hand sew it so that you don't see any stitches...I didn't. Surprise, surprise. I just used a zig zag stitch to sew it up. Then all you need to do is turn one end into the other. I turned the end with the stitches showing to the inside of the hat so that you wouldn't see them.

Done! Now to embellish!

I used some pieces of jean and cut out shapes. I cut out a small car and a little boat and used liqui-stitch to glue the appliques on to the hats. Then I used some embroidery thread to sew on some button wheels and sew a mast to the boat.


Sew cute!

Tuesday, May 11, 2010

Flower Hair Accessories

Good morning everyone!

This morning I thought that I would share this project with you. Some beautiful flowers turned into hair accessories for your special little girl...or for yourself maybe.
First take your flower stems and pull the flower heads off. I used some small hydrangea flowers. With larger flowers you may need to pull the entire flower apart to use only the sections you want.


Then I cut out two circles of felt and in one of the circles I cut two slits. Sorry, it is kind of hard to see in the picture but you want to cut two vertical lines just a little bit apart. Making these cuts will allow you to add the flower accessory to a clip or headband.


For larger flowers you will want to hot glue your largest petal piece first to the solid piece of felt and layer the pieces going smaller as you go...be sure not to burn yourself on the hot glue gun, it hurts...I know first hand. :P With your small flowers you can glue one at a time to the solid piece of felt, grouping them together. Once you have a grouping you like then glue on the slotted piece of felt making sure you only glue the outside leaving the center unglued so you can add your accessory of choice.


Add a jewel to the center.


Here are two of the hydrangea clips I made. Sorry that the pictures are so blurry.


Now you can add your flower to a headband just by putting the end through the slotted part of the bottom.


Or you can add it to a clip so that you can clip it where you want...isn't my girl such a little ham!

Monday, May 10, 2010

Inspired by nature

Good morning everyone!

I hope that everyone had a wonderful mothers day! I know that I certainly did. It is nice when the weather cooperates. We ended up staying at home and having a nice time in our yard. Lately, with the weather being so nice, I have been thinking a lot about nature and all the crafts that you can do with natural elements. We are planning a trip to 100 mile house and I am thinking that will be the perfect place to collect items to make nature crafts. I would really like to make a pendant from a rock or possibly a piece of wood. Here are some projects that I have seen that I like.

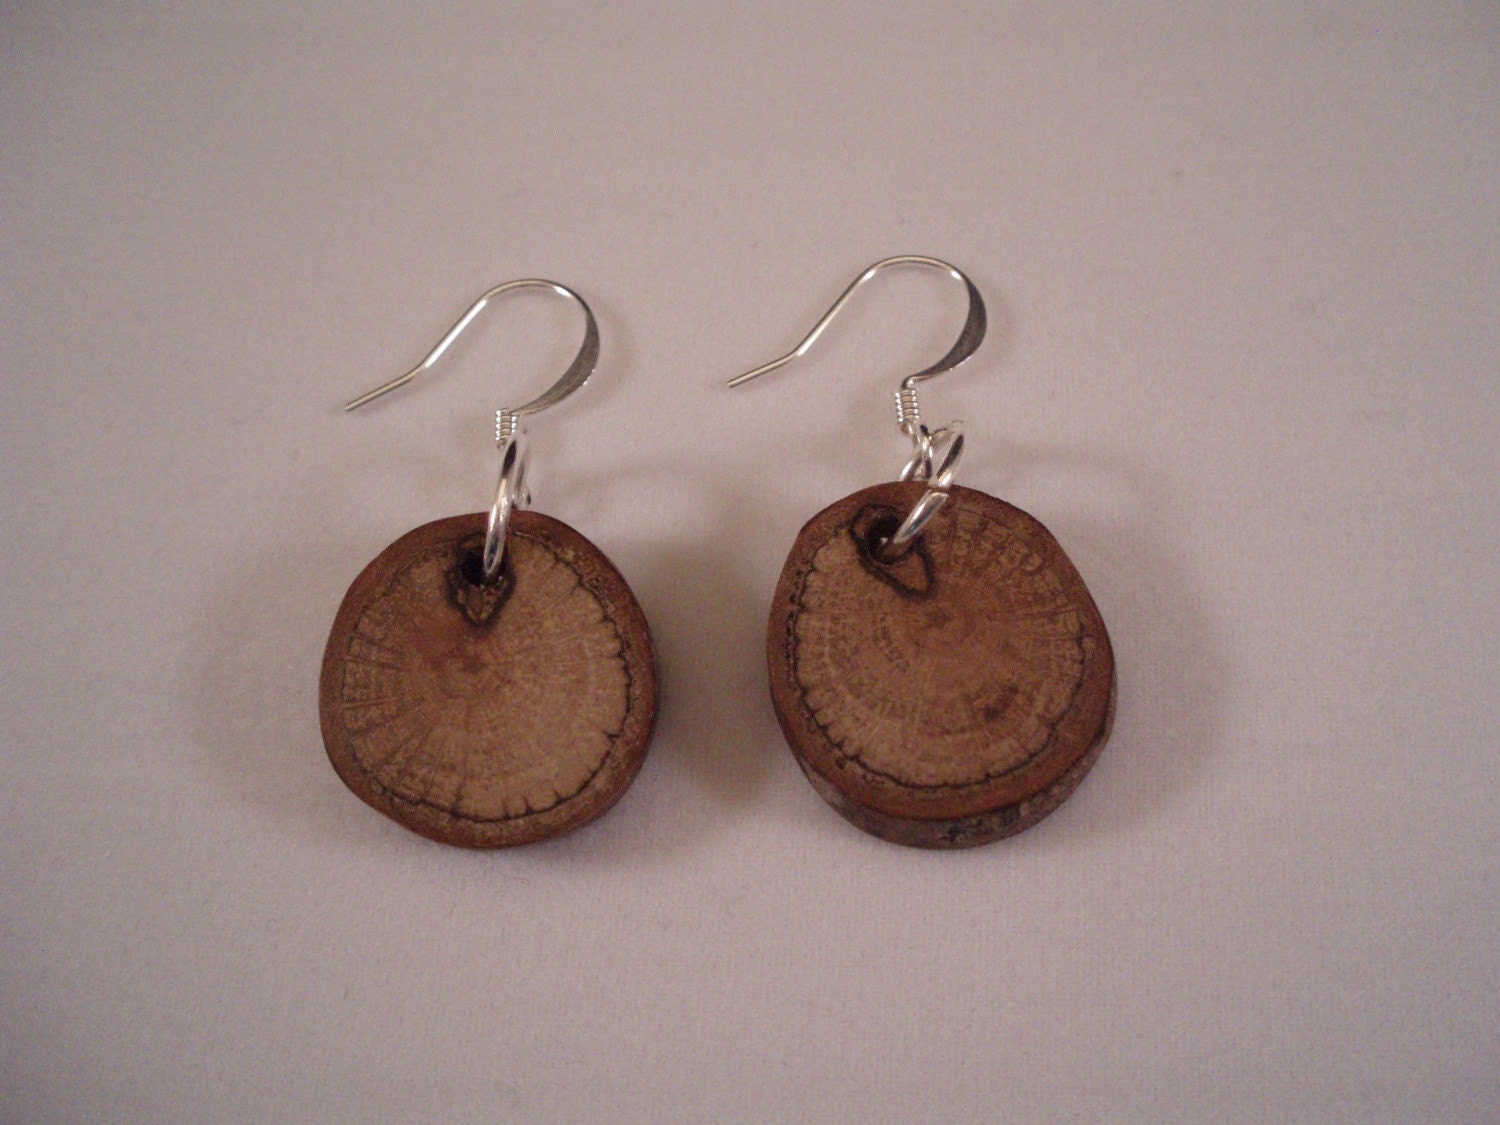
Oak Branch Wooden Earrings
These are some beautiful earrings I found on etsy made by Hendywood, such a talented artist.
http://ny-image2.etsy.com/il_155x125.104381918.jpg
Gold Leaf Necklace with Wood Bead Accents Cord Necklace
http://ny-image3.etsy.com/il_fullxfull.143282039.jpg

This beautiful necklace was made by AnEclectic Spirit. What a great idea using leaves.

So many great ideas and talented artists.

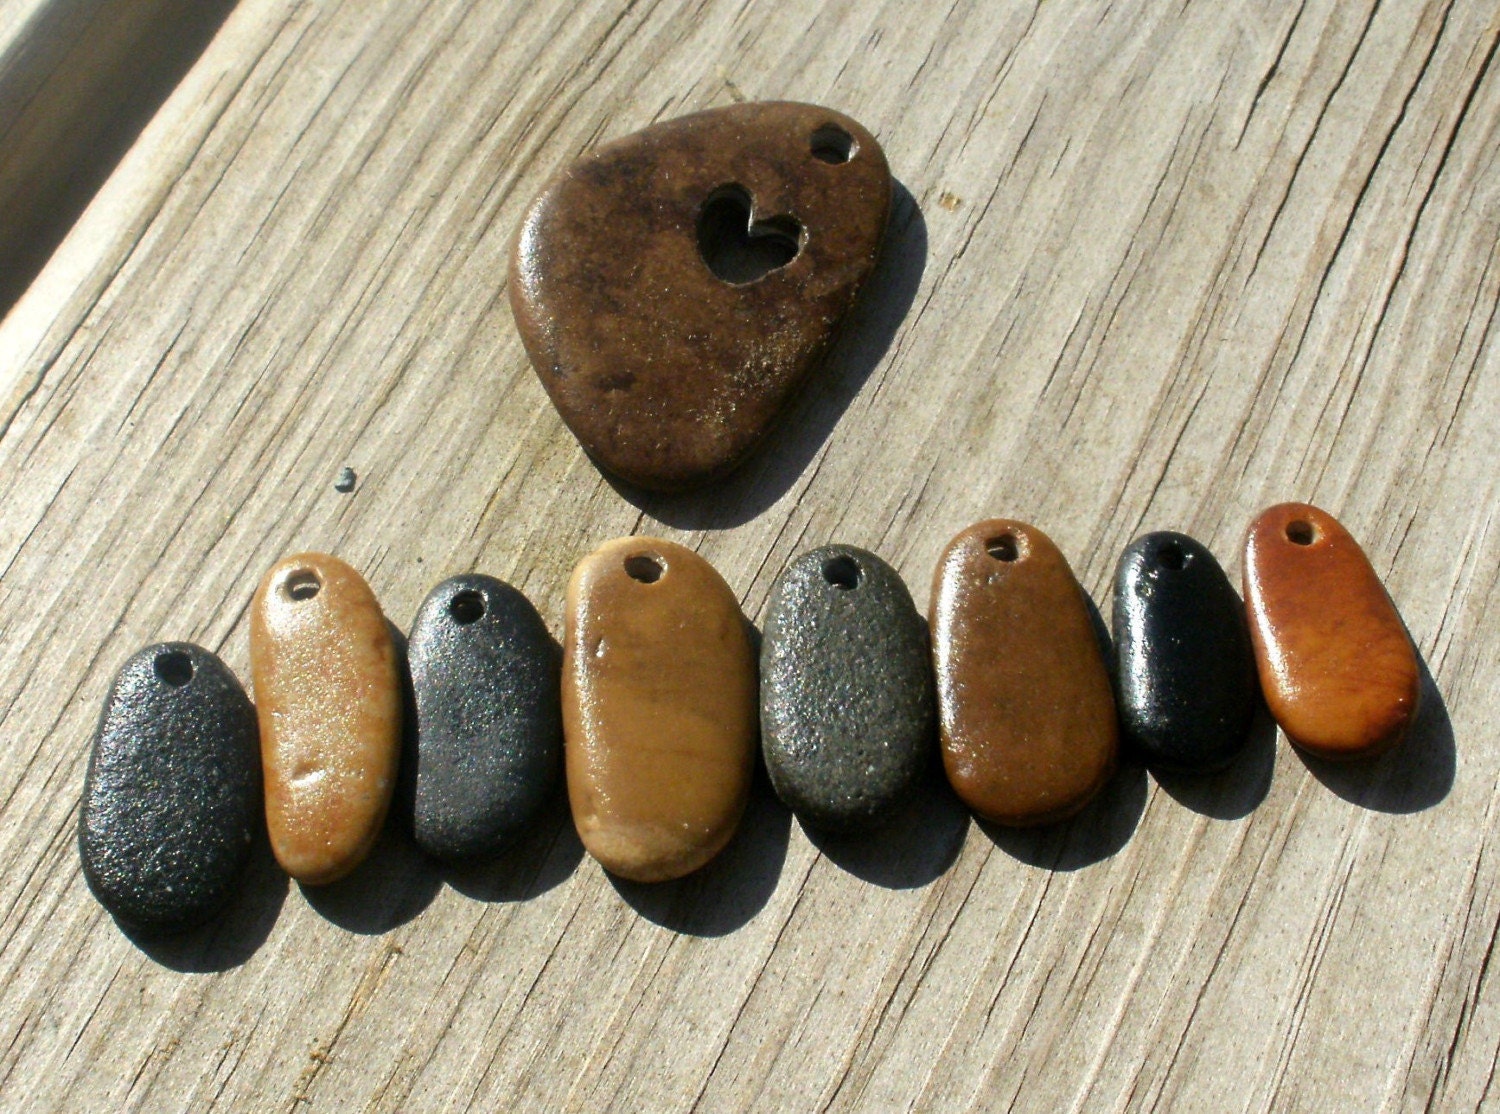
LOVE AND DANGLES genuine drilled and engraved beach stones
http://ny-image1.etsy.com/il_430xN.143263605.jpg

I just love these pendants! Ready to do from Allybeans at here etsy shop. Just loving all her beautiful stones! So many beautiful designs.

Perhaps when we are on our trip I will find a piece of nature that inspires me.


Wednesday, May 5, 2010

Heart Yo-Yo's

Good Morning!

Today I am going to do a tutorial on yo-yo making. This is in honor of my Oma who would never let any small piece of fabric go to waste. I never liked fabric yo-yo's but have decided to embrace them and make them into new and fashionable ideas. Usually when you find them they are made into a project that looks old fashioned. My goal is to find new projects and ideas to bring fabric yo-yo's into the 21st century. One day I think that I am going to write a book on 101 ways to use a fabric yo-yo. I hope that you can learn to love them too!

I found this dress at the second hand store and it had a couple of small stains. What better way to use my new clover heart shaped yo-yo maker. You don't necessarily have to use a yo-yo maker either...you can cut your fabric in the shape of a triangle and still follow the same steps sewing along the edge and gathering. I just find it so much easier with the maker.

Sorry, I started to put the yo-yo's on before I took the before picture.

First take your co-ordinating fabric and place it between the two pieces of your clover yo-yo maker. Make sure that you fabric can be seen through that little window, this will be the top side when you start to sew around. Then you need to cut around the whole thing leaving a little bit of fabric around the edge.
Next, you need to sew along the edge. The clover makes it so easy, you just need to follow the guide. Make a knot in your thread and sew along.

This is the underside. You want to make sure that you are going through the two pieces so that when you are done the unfinished edge will be hidden on the inside. Once you are done sewing around the entire edge then you can pop the heart out and remove your fabric. Pull the thread to gather the edge and use your fingers to guide the fabric so that the right side is out, you can also make adjustments to the heart as you go along to make it look just the way you want it. Once you have it the way you want it then you can sew it on to your project. I kept the thread attached and added a button to the middle to hide any imperfections and give it a little bit of button bling.


The finished product! A beautiful new dress for Emilia!

Isn't she a beauty!
She loves to pose! When the camera is rolling, she is on!

Monday, May 3, 2010

Ribbons, Ribbons, Ribbons!

Hey everyone!

I thought it was time that I added a tutorial for the beautiful hair ribbons that I have been making my daughter Emilia. She loves them and I know that you will love them too.

So I start by cutting my ribbons into 12" pieces. Usually I use two separate colors and four pieces of each.

After you have cut all your pieces, then start to tie them all to your elastic. Interchanging the colors as you go.

And that is it! So easy, and so beautiful.

Add a couple of butterflies for a little extra bling.

Such an easy craft that looks like it took much more time than it did. But if you won't tell then neither will I. :)

Scarf Transformation

Good morning!

So last night I remembered a tutorial that I saw long ago on how to tie a scarf into a bag. I think this would be perfect for any mom who always forgets her reusable bag in the car, like I do. A scarf is so nice and compact and can be kept in your purse for any occasion.

To make the scarf bag you must first lay the scarf flat. Then take each corner and tie a knot about 2-3 inches from the end, depending on how large you want your handle to be.
Next you need to tie two adjacent corners together using the "tails" that were made when making your first knots. Do the same to the other two corners. This makes the handles.
Voila, Your purse is finished! Now filler up! It is so quick and easy.

So after I thought to do this tutorial I thought of another idea. What if you just wanted to spruce up a purse you had? Maybe you needed to match an outfit. Instead of buying a whole new purse you could use any scarf to cover the purse you already have. What do you think? Tres Chic isn't it? Or Chic d'la la, as my dutch aunt would say.
All I did was lay the scarf out flat and placed my purse in the middle on an angle. I tied two opposite corners from side to side to cover the sides of the purse. Then I tied the two opposite corners of the scarf that were front to back to cover the front and the back. To get inside all you have to do is untie the top tie and move the bottom one over to access the zipper for your purse. It is like having an instant new purse! Loooove it!

Sunday, May 2, 2010

The finished product!


Hello everyone!

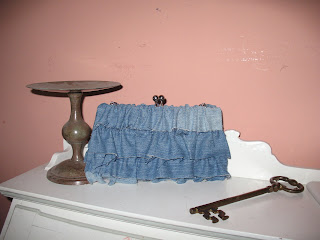
The purse is finished! I have fallen in love with it. It turned out just as I thought it would. It makes me feel so great when I can take my finished projects out into the world to share them with others. Not to mention that it was so easy to do. Maybe I won't tell everyone that ;) I can't wait to use it...now what to wear with it? If only I had a jean skirt and a pretty ruffled top to wear to match. Hmmmm...sounds like a new project in the making.

Kimchiruffletubetop
I think this top would be perfect! Doesn't it look like it would be easy to make? Just a couple of strips, some elastic at the top, easy peasy right?? Add a nice pair of jeans or a jean skirt and away we go. I think it sounds like the perfect outfit!

Saturday, May 1, 2010

Impromptu vase


Good morning!

My mother gave me some flowers yesterday from her garden...gorgeous! They were just so beautiful but I was in the car and had nowhere to put them. Hmmm...what to do. I had to think fast. I didn't want these beautiful flowers to wilt. Notice the old coffee cup in the van's cup holder. The flowers looked so beautiful in the old Timmies cup that I decided to keep them in there. Don't they look just gorgeous?! The lid for the cup works perfectly to keep the flowers together. I actually almost kept them in the car because they brightened up the van so much. When they were in there I felt a little like a hippie...and I liked it. They do look just as beautiful on my antique desk though, and I needed the cup holder for the next cup of coffee. Well, who would have thought? Beauty in an old coffee cup that was headed for the garbage. The perfect impromptu vase.